Exciting times at QVD with the release of version 3.1 of our ground breaking VDI software. And today we are pleased to announce the availability of a QVD 3.1 demonstration VirtualBox appliance that you can download and try out with a minimum of fuss. This is the first in a two part series on using and customising the appliance. Since you will will be running the demonstration within a virtualized machine, this means that you will be able to try out the software from a range of different environments and without having to make any substantial changes to your own setup.
To run the software you’ll need the freely available VirtualBox installed and if you haven’t yet done so you can download it from the website https://www.virtualbox.org/wiki/Downloads or follow the instructions there obtain it for your particular operating system.That done, you’ll need to download the QVD Appliance. The appliance is about 1.1GB in size with room to grow up to 15GB so that you can experiment with your own disk images once you’ve tried the demo. You can download that here: QVD Appliance.
Finally, you will need one of the various QVD clients. Since we’ve strived to make this demo as unobtrusive as possible, probably the easiest thing to do is to download the QVD windows client and install it. You can get that from the downloads section of the QVD website. If you wish to install the QVD 3.1 for Linux, you can add the QVD 3.1 ppa to your sources (Ubuntu 12.04 only) or add the SuSE repository and install perl-qvd-client. You can also try out our Android client. For the purposes of this demonstration, we are going to use the Linux client but the experience is near identical if you are using Windows.
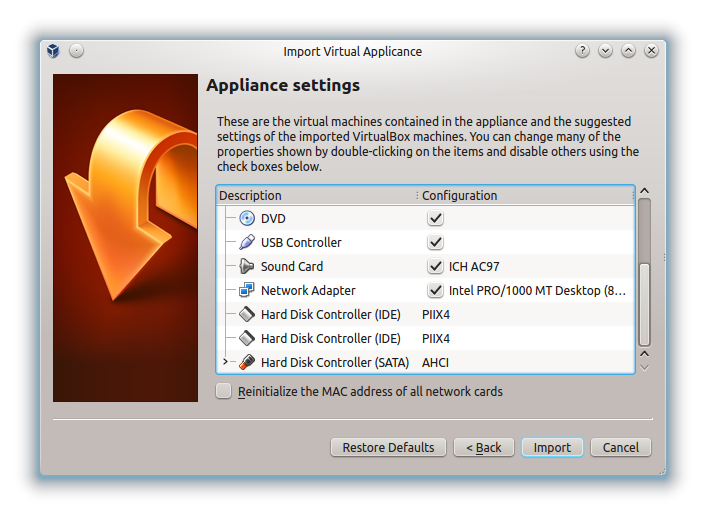
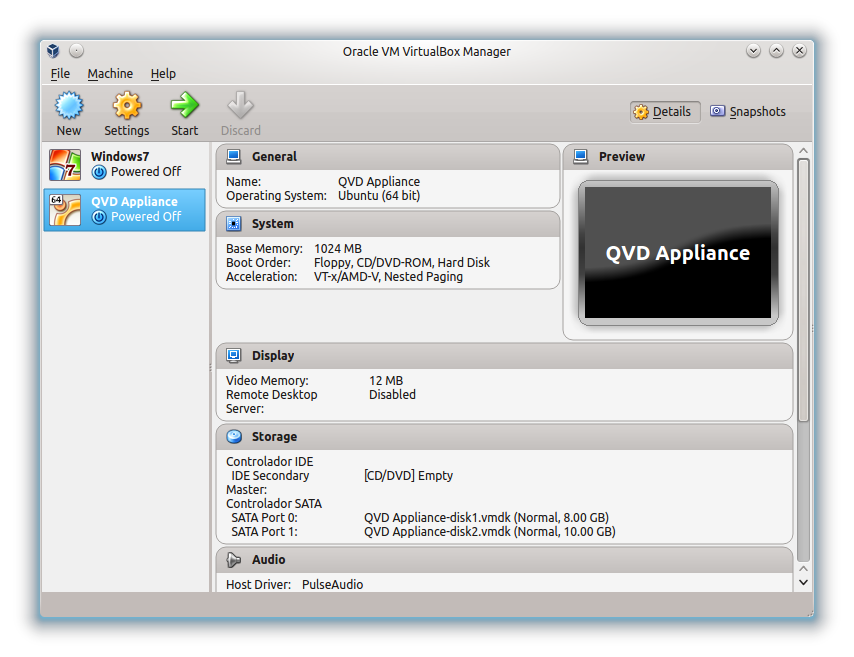
We don’t recommend that you change anything at this juncture, so click the Import button and give VirtualBox a couple of minutes to complete the import. Back in the main VirtualBox screen, you should now have the new machine “QVD Appliance”.
| Note | It’s important to note at his stage that QVD uses ports 8443 for the Layer 7 Router and port 3000 for the Web Administration tool by default. Additionally, port 2222 is used for ssh access to the VM. Providing access to these ports on a guest OS in VirtualBox can be achieved by using NAT and setting the VirtualBox networking engine to map these ports to the guest. This is set up already in the QVD Appliance. It is important to note that these ports must not already be in use on the local machine or the demonstration will not work properly. Also, for the purposes of this demonstration it would be advisable to tear down any apparmor profiles on the host machine (not the appliance) as this can interfere with the networking. This can be achieved be running, on the command line:sudo service apparmor teardownon the host machine. To restore apparmor after the demo, simply restart the service:sudo service apparmor restart |
To start the QVD Appliance, simply select it in the list of VMs in VirtualBox, and click the start button. This will boot up the machine and bring you to a console login screen. The default username and password is qvd, although you shouldn’t need to log in just yet to test out the software.
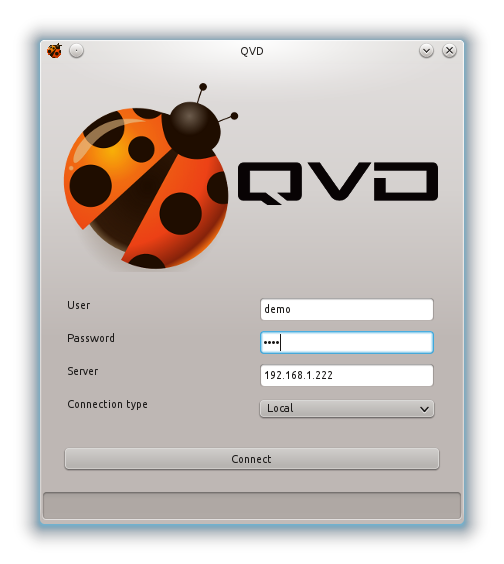
Now we are ready to run the client, so locate it in your start menu, or on Linux, run /usr/bin/qvd-client which will bring up the start screen.
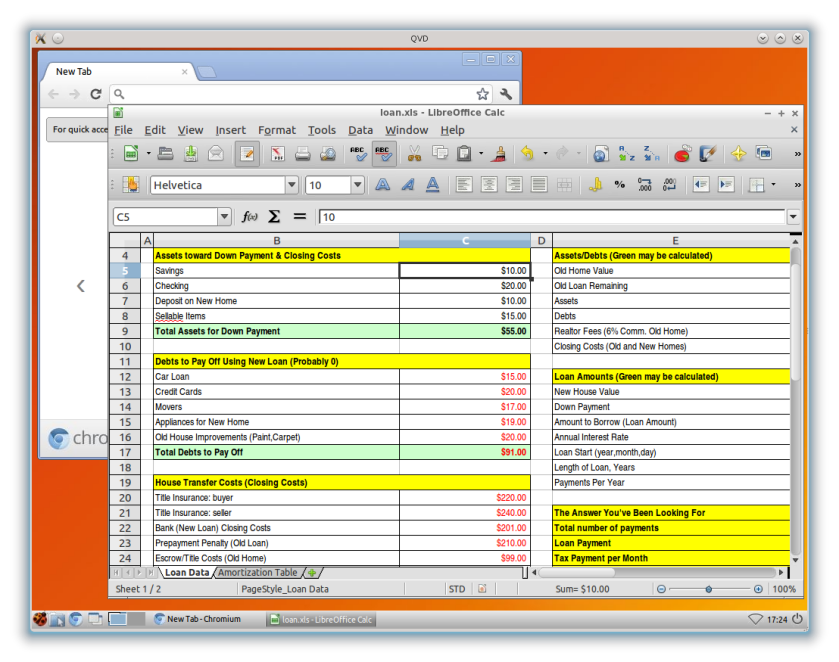
Enter your username and password (use demo for both here). Enter the host name or ip address of the host machine on which you are running the appliance. This may be localhost. Assuming you are on the same machine or at least the same network, leave the connection type as Local and click Connect. If you get a certificate warning, ignore that as it is just for the self signed cert. Startup will take a minute or two depending on the speed of your hardware, and finally, you will end up right inside your own virtualized desktop, ready to work!
As you can see, getting the QVD demo up is quick and really simple. Next time we will look into adding your own custom images to the QVD Appliance so that we can demonstrate the how easy it is to replace the default image with you own disk image and customise the experience for your users.


